Wednesday, July 23, 2014

Speedy Grilled Cheese

Two kids = busier and less time!  Oh and a messier home!  (That is next on my list)

I was at my sister's house one weekend and my teenage niece and her friend were making their lunch.  I was astonished to see that they were using their waffle iron to make a GRILLED CHEESE sandwich!  Oh my! The world was going to end...that's not what that wonderful kitchen appliance is for!  It's for waffles!  That's it...or is it?

Fast forward to today when Lu wanted grilled cheese for lunch.  Between taking care of a four year old and entertaining her, I have a nursing baby, who feeds on demand.  I thought I would try out this waffle iron grilled cheese sandwich.

GENIUS!  So quick!  So easy!  AND it also segments the sandwich which means you don't even need to cut the sandwich.

My neice deserves an award...or something!

Or maybe I'm just old and unaware of the many uses of my waffle iron.


What do you use your waffle iron for?

Better than Kraft Dinner

Now I bet you're asking yourself, "How can anything be better than Kraft Dinner?"

It's true, Kraft Dinner is pretty good.  And it's super nice how easy it is in a pinch.  The thing I don't like about it are the chemicals and preservatives in it.  When my first child was born in 2010 and started solids that fall, we decided that we were no longer going to buy the boxed macaroni and cheese.  Instead I searched for the most amazing macaroni and cheese ever.

Well I found it!  This really isn't news though as we've been eating this macaroni and cheese for a number of years now, but I figured it might be time to share.

Mommy's Macaroni and Cheese (as that is what Lu calls it)

(once again I am terrible with measurements)

On one element boil water for the pasta, once boiling put in the pasta of choice.

On another element in another pot, melt about 1/4-1/2 cup butter on medium-low heat (don't cheap out - get real butter otherwise you'll be adding your own chemicals to the dish!).  Start this while waiting for the water to boil.  Add approximately 1-1.5 cups of milk.  When mixture is warm add the secret ingredient: 1 tsp Dijon prepared mustard, plus a pinch of salt and pepper.

Next, add 1 - 1.5 cup shredded cheese of choice....you can add as little or as much.  If you add too much cheese you can always add more milk.  However do not add cheese unless the milk-butter mixture is warm...you want the cheese to melt.  Once melted and in liquid form (use a whisk to help keep mixture smooth), add 3 tbsp of flour.  Whisk ensuring that the flour mixes in and there are no lumps.  You should notice the mixture thickening.  Once mixed, remove from heat.

Your pasta should be ready. Drain. Mix sauce and pasta together in largest pot.

Serve.  Enjoy!


(PS I will add photos when I get from the camera!)

Tuesday, June 24, 2014

Crockpot pork chops and roasted taters

I need to write this down.  It was A-Mazing!

I needed something quick for supper and didn't really want to heat up the house, so naturally wanted a recipe for the crockpot.  I took out some pork chops (unfortunately I'm not great at planning, so they were frozen and it was 2:00).  Normally I make my pork chops with cream of mushroom soup and onion powder and garlic, but my hubby wasn't feeling well, and is lactose intolerant, so I thought I would skip the cream.

So, what do you do?  Google or check on Pinterest, naturally.

I found this recipe on Pinterest...it looked promising.  I did change the recipe up a bit to better suit our family. (http://www.macandmolly.com/slow-cooker-bbq-pork-chops/)


(sorry, I thought about taking the picture after I had started eating.  These days, I need to eat quickly...or else I don't get to)

My version of Crock Pot Pork Chops:

1. Place 1/2 tsp of chopped garlic (from Costco) on bottom of crock pot.
2. Add enough chopped onion to cover the bottom.
3. Pour enough BBQ sauce to bottom to cover garlic and onion.
4. Lay pork chops on top. (They were frozen.  If you are using fresh you may want to add a maximum of 1/2 cup of water)
5. Sprinkle pork chops with mustard powder.
6. Pour more BBQ sauce on top of pork chops.

I made 2 pork chops and used about half of a bottle of BBQ sauce. When it was finished, it tasted like candy.

I cooked on high for 4 hours.

Roasted Potatoes:

1. Peel and chop one potatoe per person.  Cut into uniform size pieces.
2. Put olive oil on cookie sheet and lay potato on top in single layer.
3. Sprinkle with spices of your choice.  I used salt, pepper, salad shake by litehouse, smoked paprika, and cajun spice.
4. Sprinkle more olive oil on top as you mix potatoes around on cookie sheet.  Ensure that potatoes are coated with oil.
5.  Bake at 375 for 10 minutes.  Turn.  Bake another 10 minutes.
6.  Turn oven heat to 400 degrees and bake approximately 8 more minutes until potatoes are crispy.  You may wish to turn again to ensure that they are evenly crisped!

Enjoy!


Thursday, June 19, 2014

Helpful hint: Celery and onion

So this may not be any news to you, but for some it may be.

If you're anything like me you go shopping with the best of intentions to eat healthier, which includes more fruits and vegetables.  The problem with that plan is that fruits and veggies are perishable...meaning they go bad.

Celery is a wonderful example.  I buy celery planning to munch on celery sticks when I need a snack instead of cookies and other sweets.  In reality what happens is the celery stalks stay neglected in the fridge until some time in the future when I find them, remembering my original plan.  At this point, they're looking a little rough.  What to do?  What to do?

I hate throwing food out about as much as I dislike shopping for it in the first place...so...I salvage!


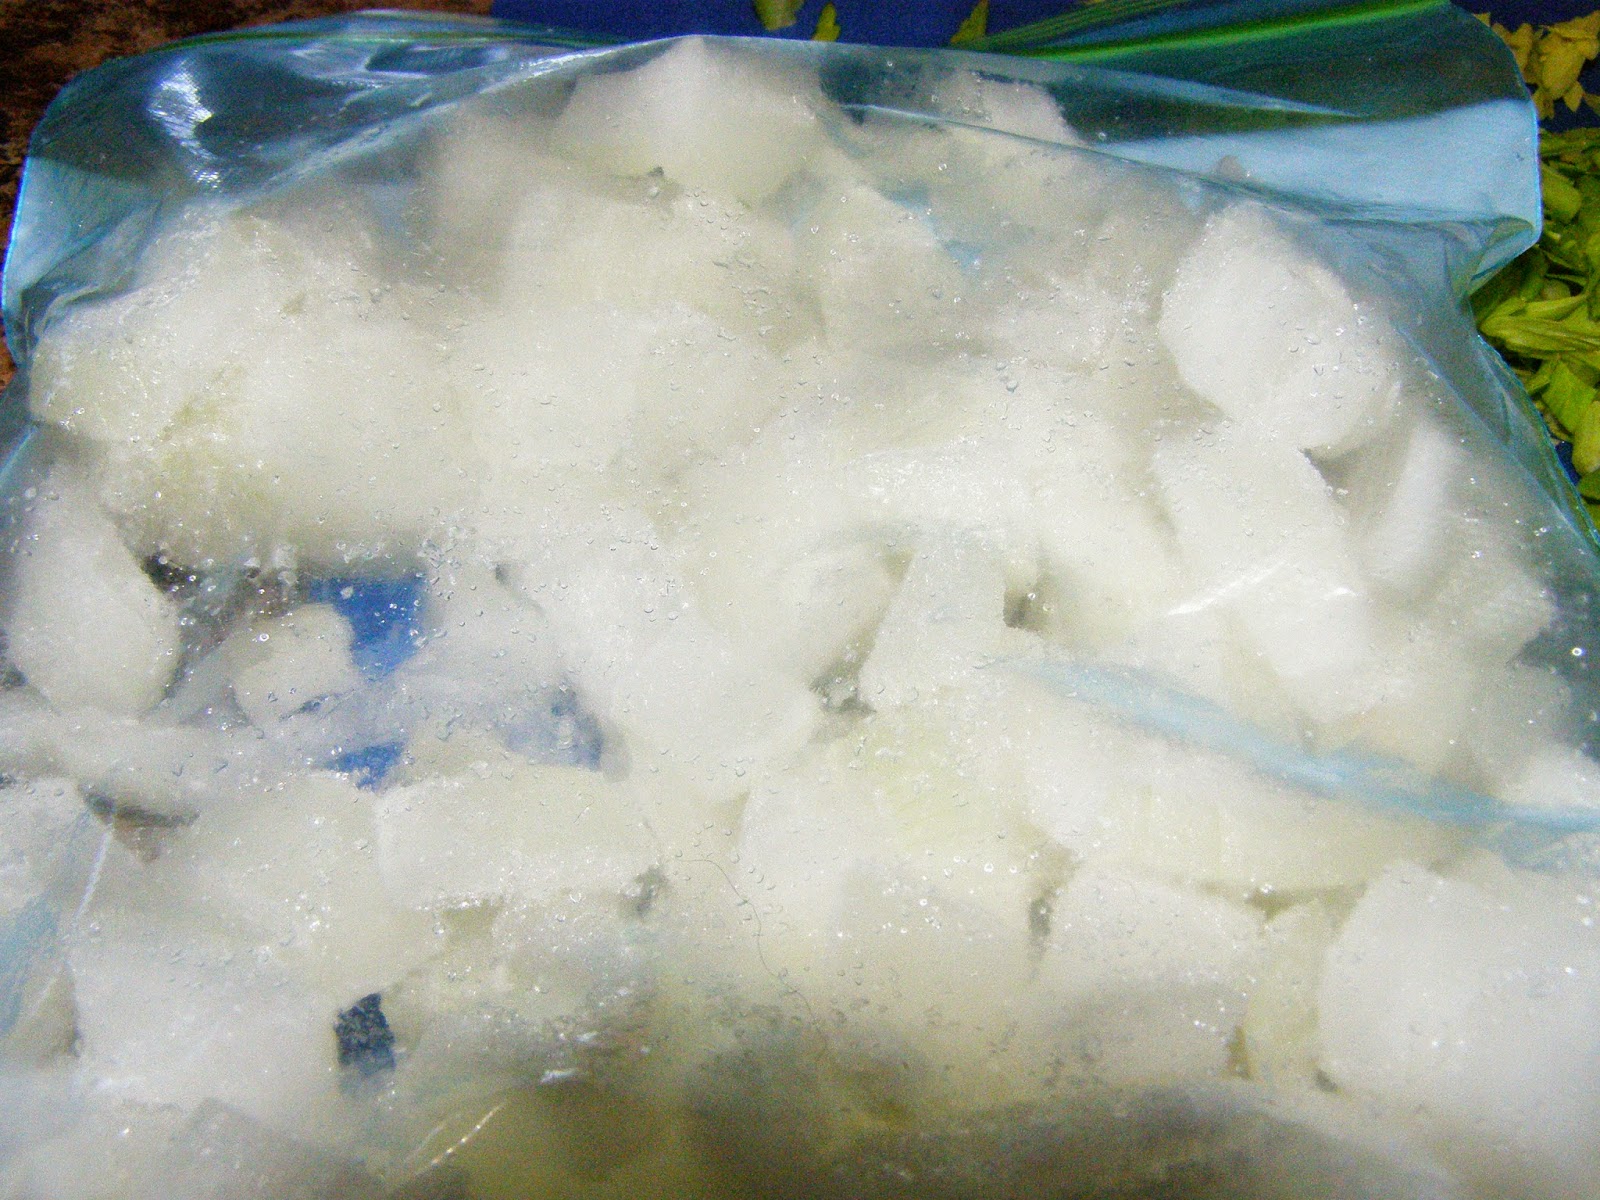
I salvage by washing and chopping the celery up into small pieces, then freezing in freezer bags.

I do the same with onions.  Apparently you are not supposed to save and reuse a cut onion (I'm not sure what truth is in it, as my mom always used left over onions and we never got sick). In our house the onion would end up going bad and into the garbage.  So chopping up and freezing is my solution to our left over onion dilemma.


The nicest part about having onions and celery chopped and in the freezer is that it makes making soup and soup stock that much easier!  Not to mention anything else that requires cut celery or onion.

Wednesday, June 4, 2014

I'm back!

It's been a while!  I got locked out because...ready for it...drumroll please...I forgot the password.  [insert embarrassed icon here].

Our little baby boy was born on March 20, 2014.  He weighed a whopping 8 lbs 4 ounces (Everyone tells me that's big, but I still think it was small-ish).  He's now just over 14 lbs at almost 11 weeks!  Yup he's doing well.

As for my goals, well we'll have to take some time to review those soon.  We're now at the halfway point in the year.  Here's hoping by December 31st, I will have achieved some of those.

Life has been busy with a little one, but I hope to set aside some time to continue blogging.

For now, I will leave you with a photo of my little boy!


Tuesday, March 18, 2014

Update

I am very sorry.  I have been tardy in posting.  Things have been busy.  Who would have thought baking a second child was so tiring...ha ha.

I am due with this baby on Saturday and expect her or him any day now.  After we get home I will update on the status of my goals (Why did I make so many?  At least I have a year to complete).

I have some posts in mind!  These will include posts about preparing our freezer for baby's arrival, decorating a nursery on a budget (Yes we've been very busy preparing for this baby), stain stick review and home made laundry detergent (unless I've already posted about that). 

Stay tuned! 

See you all again soon!

Thursday, January 23, 2014

Planning to achieve goals for 2014

I think the reason why I always had trouble sticking to new year resolutions was because I never made a plan.  It's all good to have goals, but you need to figure out what you'll do to get there.  So a few days into the new year I did that.  I sat down and wrote out things that I can do this year to help me to achieve my 7 goals for 2014. 

To make myself accountable this year, I am going to write those lists here. 

1.  Get finances in order

- create and follow a working budget
- shop sales only
- know needs vs wants *priorities
- reserve $ for debt payments
- not use credit cards/pay off immediately
- use of organizer to plan for bill payments
- pay bills on time
- savings - replenish; year savings plan
- tithe
- pray! :)

2.  Become more organized

- use an organizer
- finish organization projects: label craft drawers, playroom
- put away things in proper location, the first time
- record finance and work payments
- file regularly
- find new ways to stay organized
- cleaning closet
- do up a cleaning schedule/ checklist (daily/weekly/monthly)

3.  Make health a priority

- more fruits and vegetables
- more active play
- more outside playtime
- healthy meals - make meal plan in advance and plan with grocery shopping
- less snacking
- less sweets

4.  Grow a garden and preserve for Winter

- plan and order seed by February
- rototill /break ground in March or April
- prepare soil
- plant May long
- container gardening and in ground
- schedule regular weeding
- water and check daily
- fertilize as required
- plan harvests
- find new recipes for preserving

5.  Spend more quality time as a family

- family games nights
- family movies
- family outings/vacation
- Use our camper frequently this summer

6.  Less technology

- Delete Facebook from phone
- Check Facebook 1 time a day
- manage and limit internet time
- limit tv time (both self and child)

7.  Live a simpler "greener" life

- use reusable grocery bags
- recycle what is recyclable
- shop used
- cleaning products - use less chemicals
- make homemade laundry soap
- make own deodorant
- declutter
- get rid of non-essentials
- use less electricity